 Add Row
  Add
Add 


Understanding Water Bath Canning: A Beginner's Guide
Water bath canning is more than just a method to preserve your favorite fruits and pickles; it's a gateway into a world of sustainable living and self-sufficiency. For those aged 25 to 55, many of whom are home DIY enthusiasts or health-conscious consumers, understanding this essential preservation technique can elevate your relationship with food and cooking.
What is Water Bath Canning?
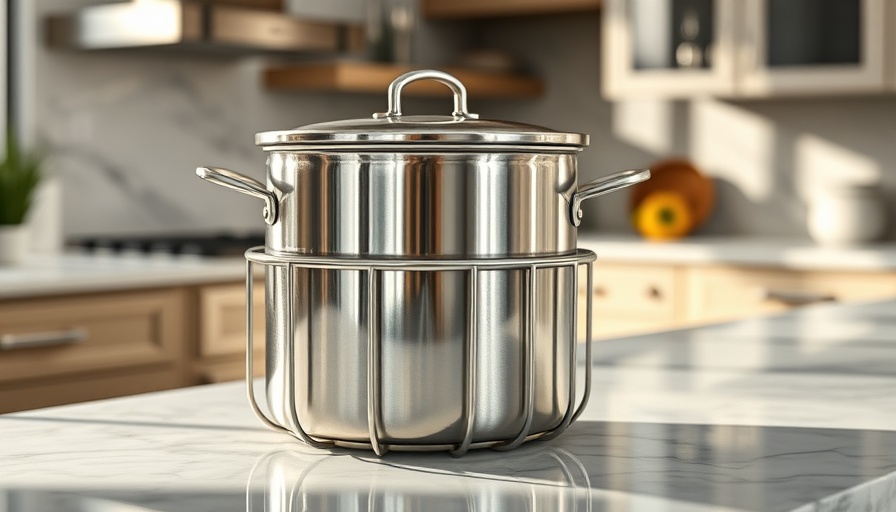
At its core, water bath canning is one of two primary canning methods used to store high-acid foods.Whether you're new to canning or simply curious, this technique is straightforward and requires minimal equipment available in most homes. High-acid foods, including peaches, jams, and berries, are ideal for this method since they provide a safer environment during storage. Unlike pressure canning, where vegetables and meats require additional heat and pressure, water bath canning utilizes boiling water to ensure food preservation.
Why Choose Water Bath Canning?
Water bath canning is excellent for beginners for a multitude of reasons. Firstly, it's a method that encourages exploration in the kitchen, where anyone can become a home canner with just a few tools. You will need basic equipment, such as a water bath canner and specific jar lifters, but once you have your setup, the process is rewarding and enjoyable.
Essential Equipment for Successful Canning
Before diving into water bath canning, having the right equipment streamlines the process and ensures safety. Tools like high-quality canning jars, lids, bands, and a wide-mouth funnel are crucial. Invest in a jar lifter, magnetic lid lifter, and bubble popper to optimize your efforts and protect your hands from burns. Quality matters, so always aim to use the best ingredients for the finest results.
Step-by-Step Instructions for Water Bath Canning
Following a reliable method is vital when canning. Here’s a simple step-by-step guide to launching your water bath canning journey:
- Prepare your jars: Wash the jars and lids in hot soapy water.
- Fill your canner with water: Position your canner on the stove and fill it up to a third with water.
- Heat your canner: Turn on the stove and allow the water to begin heating up while you prepare your food.
- Fill the jars: Use your funnel to pack food into the jars, making sure to leave the recommended headspace.
- Lid and seal: Wipe the rims of the jars with a clean cloth before placing on lids and bands.
- Process in boiling water: Lower jars into the boiling water and process for the time specified in your canning guide.
- Cool and store: After processing, carefully remove the jars and let them cool on a towel for 24 hours before checking the seals.
Common Misconceptions About Water Bath Canning
A lot of people mistakenly believe that all foods can be processed with the water bath method. However, low-acid foods such as meats and most vegetables require pressure canning for safe preservation. Understanding these differences is crucial for ensuring food safety and maintaining quality.
Future Trends in Food Preservation
As urban gardening becomes more popular, the resurgence of home food preservation techniques, including water bath canning, is gaining momentum. With heightened awareness around sustainable living and the impact of food waste, it's likely that more individuals will embrace canning as a practical skill. This shift will not only enhance personal food security but also forge stronger community ties through shared harvests and experiences.
Conclusion: Embrace the Art of Canning
Whether you’re looking to preserve the freshness of your garden's bounty or reduce food waste, water bath canning offers a fulfilling venture into self-sufficiency. This timeless technique allows you to extend the life of your food, promotes healthy eating habits, and connects you with the fruits of your labor. Start today—it’s not just about canning; it’s about creating lasting memories and a sustainable future.


 Add Row
  Add
Add 
Write A Comment