 Add Row
  Add
Add 


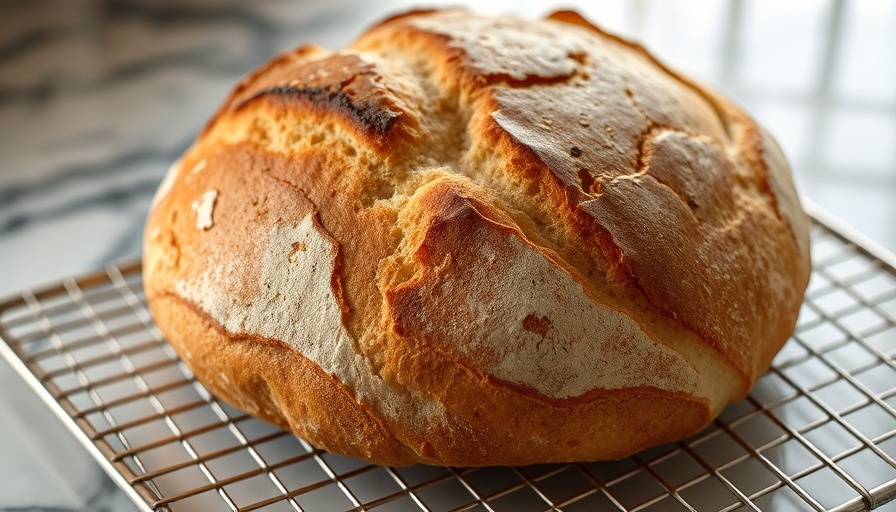
Unlock the Art of Sourdough: A Beginner's Journey
Have you ever wondered what goes into that deliciously tangy, crusty bread you love? The secret lies in the sourdough starter, a concoction of just flour and water, which harnesses the power of natural fermentation. For those of you in the age group of 25-55, especially if you’re interested in DIY cooking and healthier choices, understanding how to create your own sourdough starter could be a rewarding adventure.
Understanding the Sourdough Starter
A sourdough starter is essentially a live fermented culture, collecting natural yeast and beneficial bacteria from the environment. It kicks off the fermentation process in bread, leading to that airy texture and unique flavor profile. As you embark on this journey, keep in mind that patience is crucial; it typically takes about 7 days to build a reliable starter.
Day-by-Day Guide to Creating Your Sourdough Starter
Let’s break down the steps to create your own starter, inspired by various expert methods outlined by chefs and bakers around the world.
Day One: Mixing Flour and Water
Start with 1 cup (120 g) of whole wheat flour and 1/2 cup (120 ml) filtered or bottled water. Combine these ingredients in a clean mason jar — I prefer wide-mouth jars for easy stirring. Mix well until there are no dry chunks. Cover the jar lightly — it needs to breathe. Place it in a warm spot (ideally around 75°F or 24°C) for 24 hours.
Day Two: Observe the Changes
The second day might not show much action, but don’t be discouraged! It’s not uncommon for little to happen during this stage. Just let it rest and breathe. If you see any liquid on top (called 'hooch'), stir it back in.
Days Three to Seven: Feeding and Nurturing Your Starter
On the third day, you should start to see some bubbles. Discard half (about 60 g) of your mixture and add 60 g of all-purpose flour and another 60 ml of water. Stir and cover lightly again. Feed your starter twice daily at this point — once in the morning and once in the evening. Repeat this process until day seven, when your starter should be bubbly, active, and ready for baking.
The Benefits of Making Your Own Sourdough Starter
Creating your own sourdough starter provides numerous benefits:
- Healthier Options: Bakers can adjust the flour used, trying whole grains or organic options to enhance nutrition.
- Cost-Effective: With just flour and water, you save money compared to store-bought starters.
- Connection to Food: Embracing the baking process helps you appreciate the science behind the bread you consume.
Common Misconceptions About Sourdough Starters
Many novice bakers believe sourdough starters are too complicated to make, but in reality, the basic procedure is straightforward. Others worry that they need a perfectly maintained kitchen environment; however, as long as you keep your starter warm, it will adapt!
Creative Ways to Use Your Discarded Starter
Once you establish your starter, you will inevitably have discard. Instead of tossing it out, feel free to use it for making pancakes, waffles, or even cakes. It adds rich depth to various baked goods!
Final Thoughts: Start Your Sourdough Adventure Today!
There’s something deeply gratifying about cultivating your own sourdough starter. The patience and care you put into it can yield delicious results and a deeper appreciation for the art of bread making. So gather your ingredients, remember that persistence pays off, and embark on your sourdough journey today!
Interested in diving deeper into sourdough baking? Check out resources and communities online that focus on this beautiful craft and enhance your baking skills!


 Add Row
  Add
Add 
Write A Comment